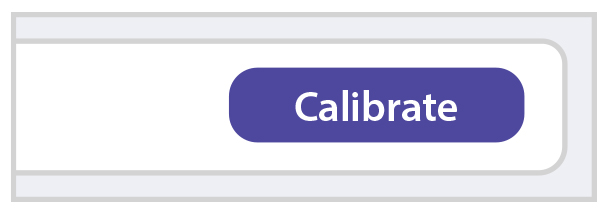
1. Click the “Settings” icon in the sidebar menu.
2. Under Scanner Settings, scroll to the “Calibrate” setting.
3. Select “Calibrate” and follow the instructions provided in the application.
NOTE: Please have the included calibration sheet ready. This can be found in the Quick Start
Guide folder included with your Photo Scanner.
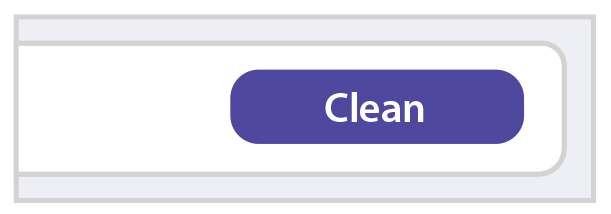
1. Click the “Settings” icon in the sidebar menu.
2. Under Scanner Settings, scroll to the “Clean” setting.
3. Select “Clean” and follow the instructions provided in the application.
To clean the optical lens and roller, lightly spray the scanner cleaning solution onto the included
microfiber cleaning cloth and gently wipe the inside of the scanner, including the roller. If you
do not have a cleaning solution available, you may also use rubbing alcohol. Do not use water
to clean your scanner.
1. Click the “Settings” icon in the sidebar menu.
2. Under Application Settings, scroll to the “Language” setting.
3. From the dropdown menu, select English (default), Spanish, French, Italian, or German.
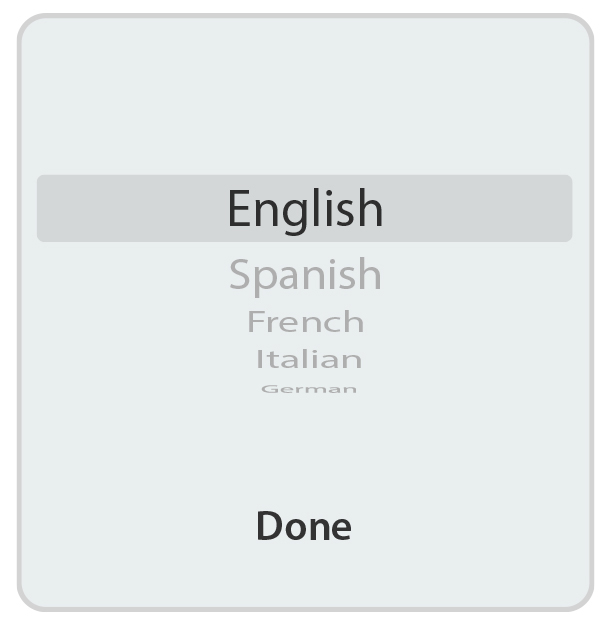
4. After making a selection, click “Done”
1. Click the “Settings” icon in the sidebar menu.
2. Under Scanner Settings, scroll to the “Resolution” setting.
3. From the dropdown menu, you can select either 300 DPI (default setting) or 600 DPI.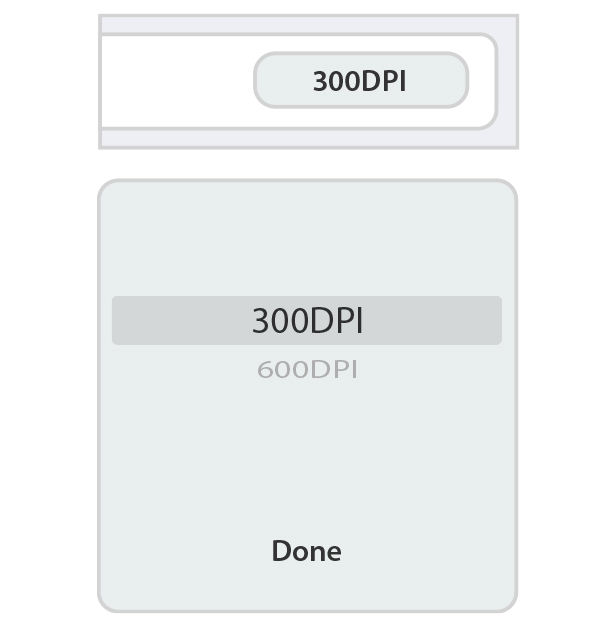
4. After selecting an option, click “Done”.
You can also adjust the resolution by clicking the three dots that appear next to the Scan button
on the home page of the application.
1. Click the “Settings” icon in the sidebar menu.
2. Under Scanner Settings, scroll to the “File Format” setting.
3. From the dropdown menu, you can select either PNG (default setting), JPEG, or BMP file
formats.
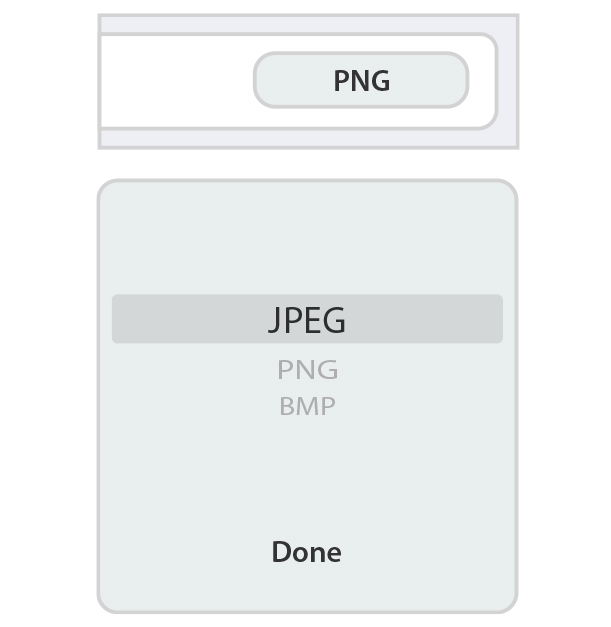
4. After selecting an option, click “Done”.
The first step is to configure your desired service. PictureStudio will back up to Dropbox,
OneDrive, or iCloud (Mac Users). Once your desired destination is configured, please follow
these steps:
1. From the Settings menu, find Auto Back-up under the Application Settings section.
2. From the Auto Back-up bar, click “Settings”.
3. From the “Back-up Destination” menu, select your desired drive. If “None” is the only
option, please confirm that your desired cloud service is “enabled”.
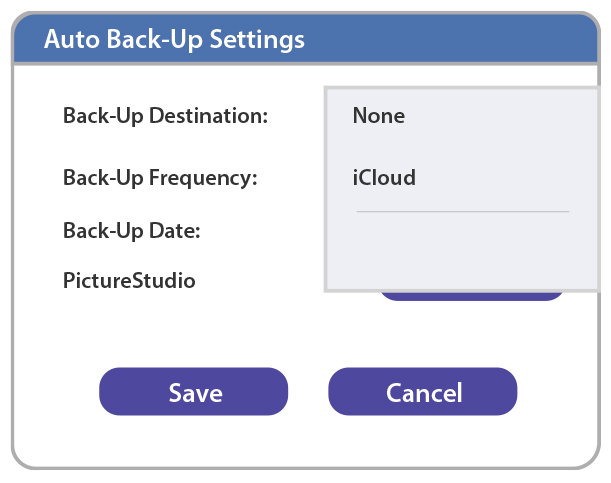
4. Select from the list provided.
5. From the “Back-up Frequency” menu, set the desired interval. Select from every 4, 6, 12
or 24 hours.
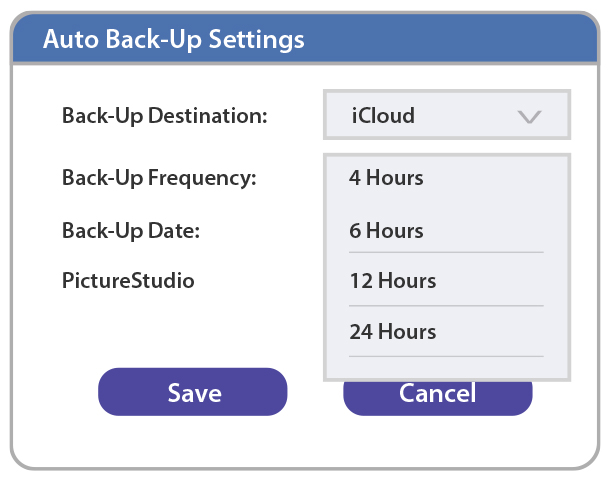
6. Once these parameters are set, select “Save”.
7. A timestamp of your last backup will be visible in this window.
8. If you want to initiate a manual backup, click the “Cloud” icon in the top navigation bar.

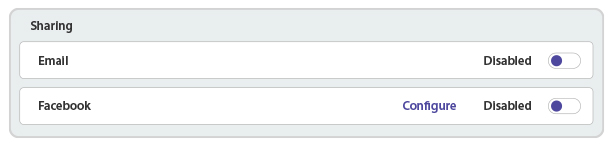
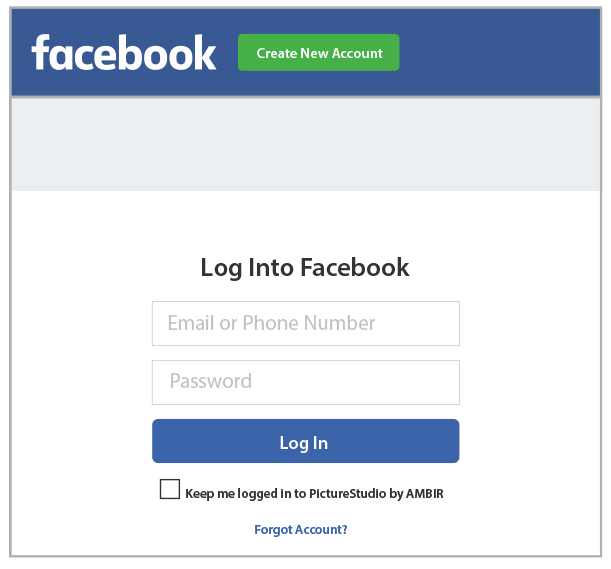
1. In order to upload photos you first have to navigate to the settings and scroll down to
the sharing options. Click on the Configure button next to the Facebook.
2. You will then be presented with a login popup. Enter your credentials, once entered hit
“Log in”.
3. This popup is where you will send your shared photos. Please choose one of the
following options.
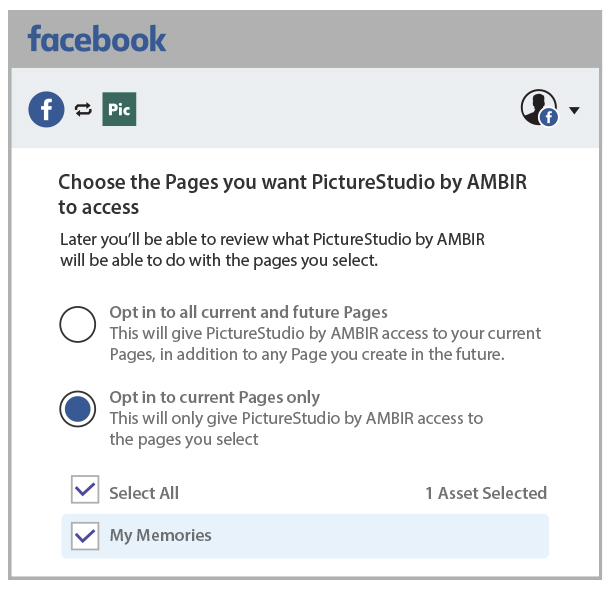
- If you opt in to all current and future pages then any photo you upload will go
into all the Pages under the account (A Page on Facebook is different than your
personal account, if no page is created and you select this option then no photos
will be uploaded to Facebook). - If you opt into current pages only, you can select which pages you want your
photos to share to. (Note: If no pages are created in that account, go ahead and
click “Opt into current Pages only” then you can click “Create a page” via
Facebook. - Once you have a page created close the Facebook window and login again. Once
logged in you will now see your page that was created as shown below.
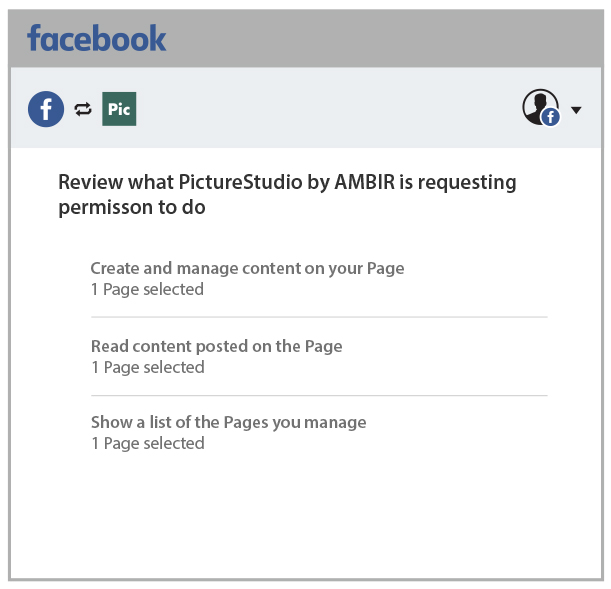
4. Select your page, scroll down, and click continue. It will now show the permissions that
PictureStudio will use. Please scroll down and click save to ensure your photos will go
into your Facebook page account.
5. Lastly, you will see a confirmation message that PictureStudio has been connected to
your account. Scroll down and click “Got it.”
You can now upload Photos to your Facebook Page account!